Science project
How to Make a Rubber Band Car

Energy is neither created nor destroyed: it is only transformed. There are many different forms of energy, including kinetic energy (the energy of motion), potential energy (energy that is considered stored because of an object’s position), mechanical energy (energy that performs work), and thermal (heat) energy. Kinetic and potential energy are often paired together in simple demonstrations, like dropping a book, jumping on a trampoline, or building cool machines like rubber band cars.
Problem
Learn how to make a rubber band car.
Materials
- Paper coffee cups or Styrofoam cups with lids (at least 2)
- Scissors
- Duct tape
- Disposable chopsticks
- Rubber bands (at least 3)
- Paperclips
- Pony beads
- Pencil or pen
- Metal washer
- Coin
Procedure
- Gather the necessary materials.
- Use a pencil to trace a circle on the bottom of each paper cup. Use the coin for a template.
- Ask an adult to help you cut out the circles.
- Put the bottoms of the cups together so the holes align. Use the duct tape to secure the cups together at the bases.

- Using the pencil or pen, poke holes in the center of the plastic cup lids. If it is too difficult, ask an adult to help you by using a knife or a pair of scissors.
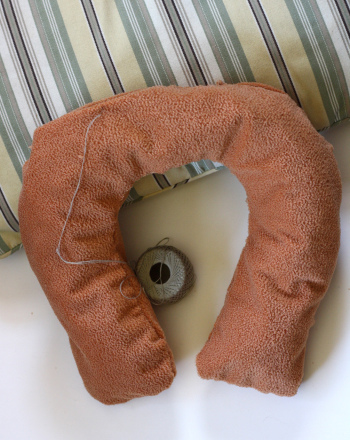
- Connect 3 rubber bands together. To do this, insert one rubber band half way through the middle of another, and then tuck one side through the center of itself, like this:

- Insert your rubber band chain through the holes in the bottom of the cups.
- Feed each end of the rubber band chain through the hole in each lid.
- Attach the lids to the cups.
- On one side, attach a paperclip to the rubber band so it cannot fall back into the cup.
- On the other side, insert the rubber band through the middle of the washer.
- After the washer, thread the rubber band through a pony bead. There will be a little loop coming out of the pony bead.

- Thread a chopstick through the rubber band loop coming out of the pony bead.


- Twist it up!
- Set it on a surface and watch it go!
Extra: Try the experiment with different sized cups, or different sized rubber bands to see if the speed or behavior of your racer changes.
Extra: This same machine can be made with a plastic trashcan, a broomstick, and a bungee cord. If you’re feeling particularly ambitious, give it a shot!
Results
The rubber band racer will speed forward.
Why?
Elastic potential energy is stored in the rubber band when you use the straw to twist it up. When the rubber band is released, the potential energy built up in twisting gets unloaded and turned into mechanical energy. The chopstick pushes against the ground as the rubber band unwinds so that the only place the mechanical energy has left to go is into the cups in the form of torque, or force around an axis. This enables your car to roll forward.
Education.com provides the Science Fair Project Ideas for informational purposes only. Education.com does not make any guarantee or representation regarding the Science Fair Project Ideas and is not responsible or liable for any loss or damage, directly or indirectly, caused by your use of such information. By accessing the Science Fair Project Ideas, you waive and renounce any claims against Education.com that arise thereof. In addition, your access to Education.com's website and Science Fair Project Ideas is covered by Education.com's Privacy Policy and site Terms of Use, which include limitations on Education.com's liability.
Warning is hereby given that not all Project Ideas are appropriate for all individuals or in all circumstances. Implementation of any Science Project Idea should be undertaken only in appropriate settings and with appropriate parental or other supervision. Reading and following the safety precautions of all materials used in a project is the sole responsibility of each individual. For further information, consult your state's handbook of Science Safety.
Related learning resources